In the final instalment of our “Your First Day With…” series, we take a look at Native Instruments’ Traktor, undoubtedly one of the most popular DJ apps today. Just like in the previous articles and videos, I’m going to walk you through your first encounter with the software; downloading and installing it on your computer, hooking up your DJ controller if you have one, and getting your music onto Traktor’s library.
The many faces of Traktor
Like Serato DJ, Traktor comes in different flavours. Let’s run them down so you can get a better idea:
Traktor Pro 2
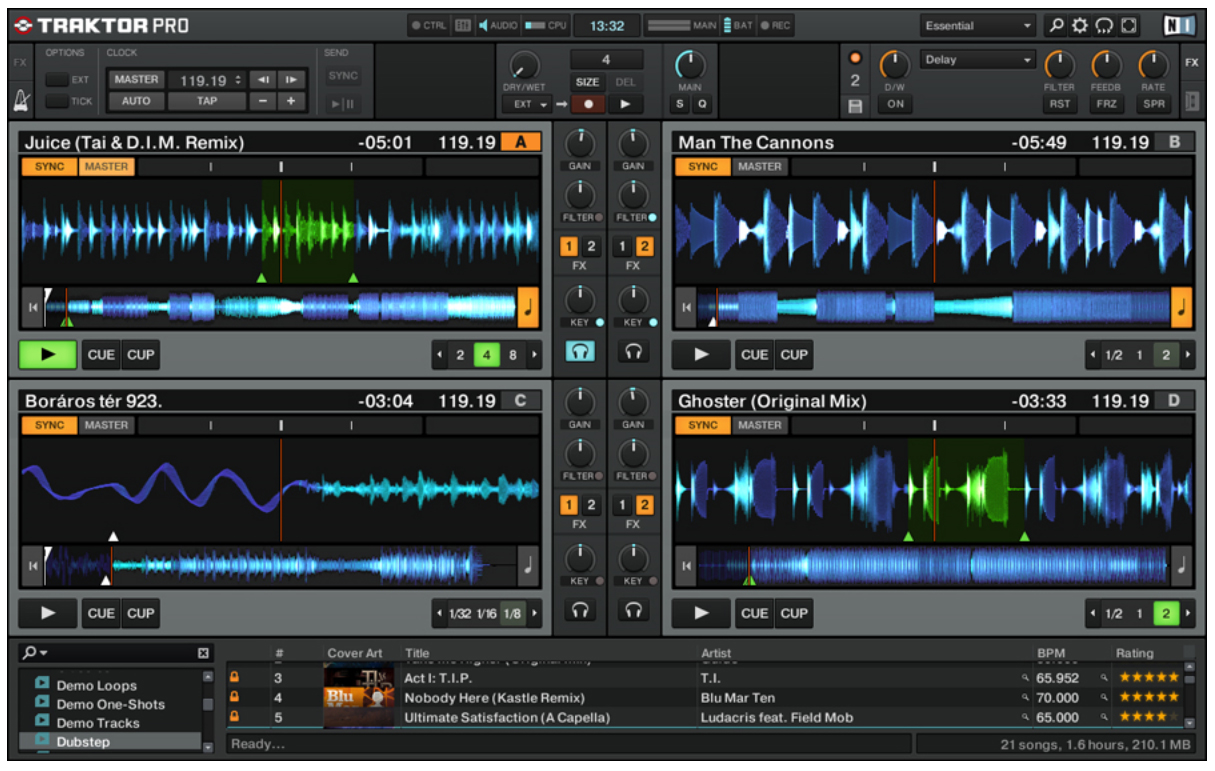
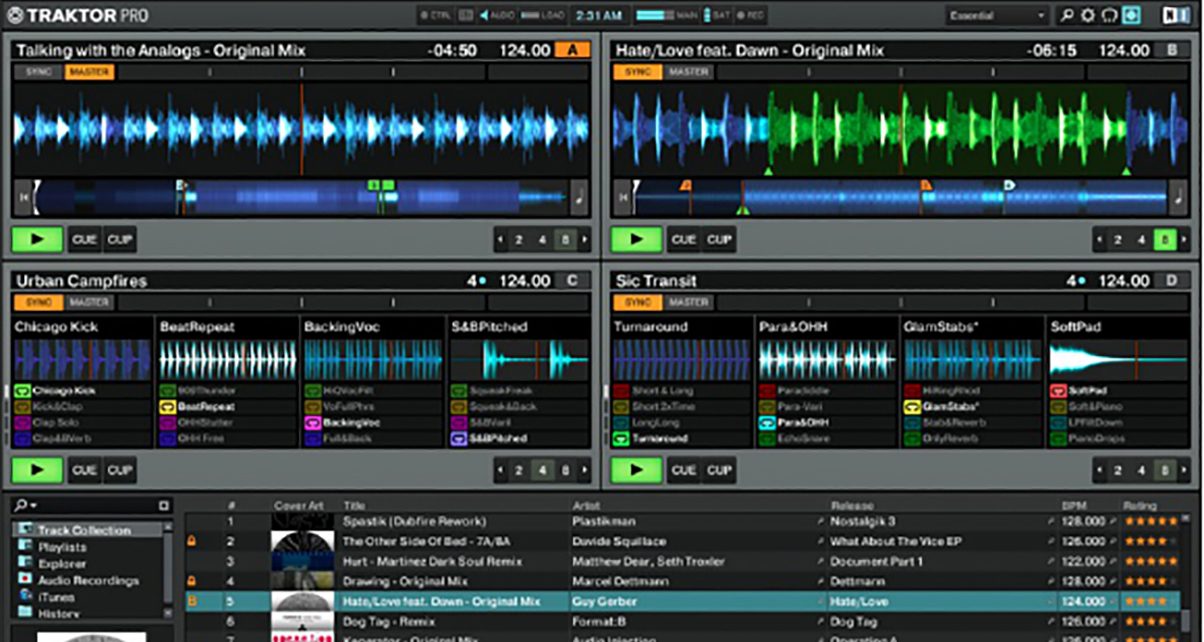
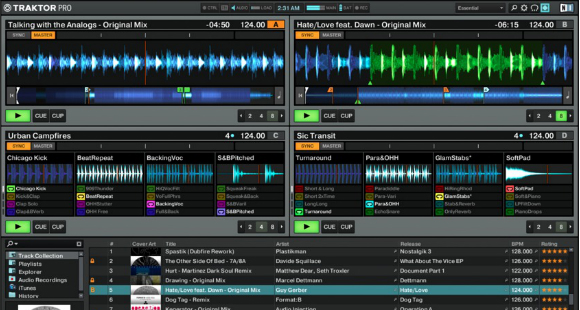
Traktor Pro 2 is Native Instruments’ flagship DJ software. It’s the present-day evolution of Traktor DJ Studio 3, which was discontinued in 2008. This is the software that comes bundled with Native Instruments’ own Traktor Kontrol S4 and S2 controllers, and comes with all the bells and whistles like Remix Decks and mix recording.
Unlike Serato DJ, which has an ongoing list of licensed compatible controllers, and unlike Virtual DJ 8, which needs a specific licence in order to use it with any controller, Traktor Pro 2 works with any controller as long as it’s Midi class-compliant, meaning you can make anything (even a guitar synth!) work with it, provided you can map it.
Traktor LE 2
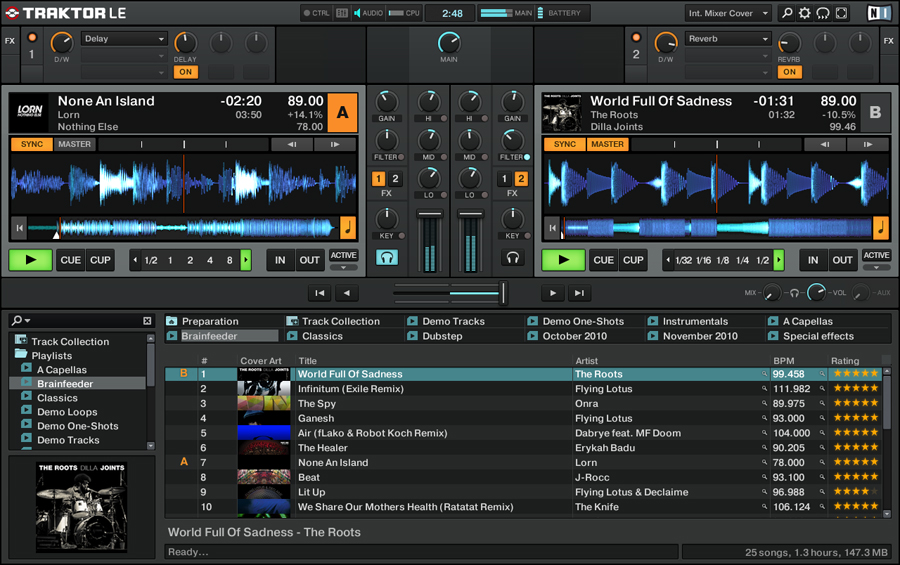
Traktor LE 2 is the “lite” version of Traktor Pro 2. It comes bundled with a small number of third-party DJ controllers (fewer than ever, actually), as well as Native Instruments’ portable Traktor Kontrol Z1 mixer. While you can DJ properly with Traktor LE 2, there are certain limitations with the software, such as only being able to mix with two decks and three FX. For a comprehensive list of differences between Traktor LE 2 and Traktor Pro 2, check out this comparison chart.
Traktor Scratch Pro 2
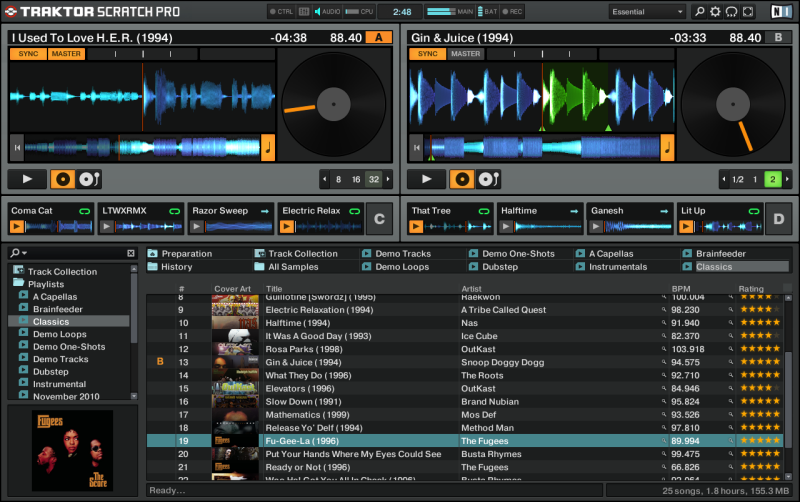
Traktor Scratch Pro 2 is the DVS (digital vinyl system) version of Traktor Pro 2. It’s identical to the flagship Traktor Pro 2, with the difference being this package includes two pieces of timecode vinyl and two pieces of timecode CDs for use with a pair of turntables or CDJs, respectively.
This is the version of Traktor that comes bundled with Native Instruments’ Traktor Kontrol Z2 two-channel hardware mixer, as well as the company’s Traktor Scratch A10 and A6 audio interfaces. Note that even if you’ve purchased a Traktor Kontrol S4 and have Traktor Pro 2 installed, you’ll still need to pay for the US$99 upgrade to get Traktor Scratch Pro 2 and the timecode package. Also note that you can’t use timecode vinyl/CDs with a Traktor Kontrol S2, as this controller doesn’t have any phono/line inputs to plug your turntables or CD players in.
Traktor DJ
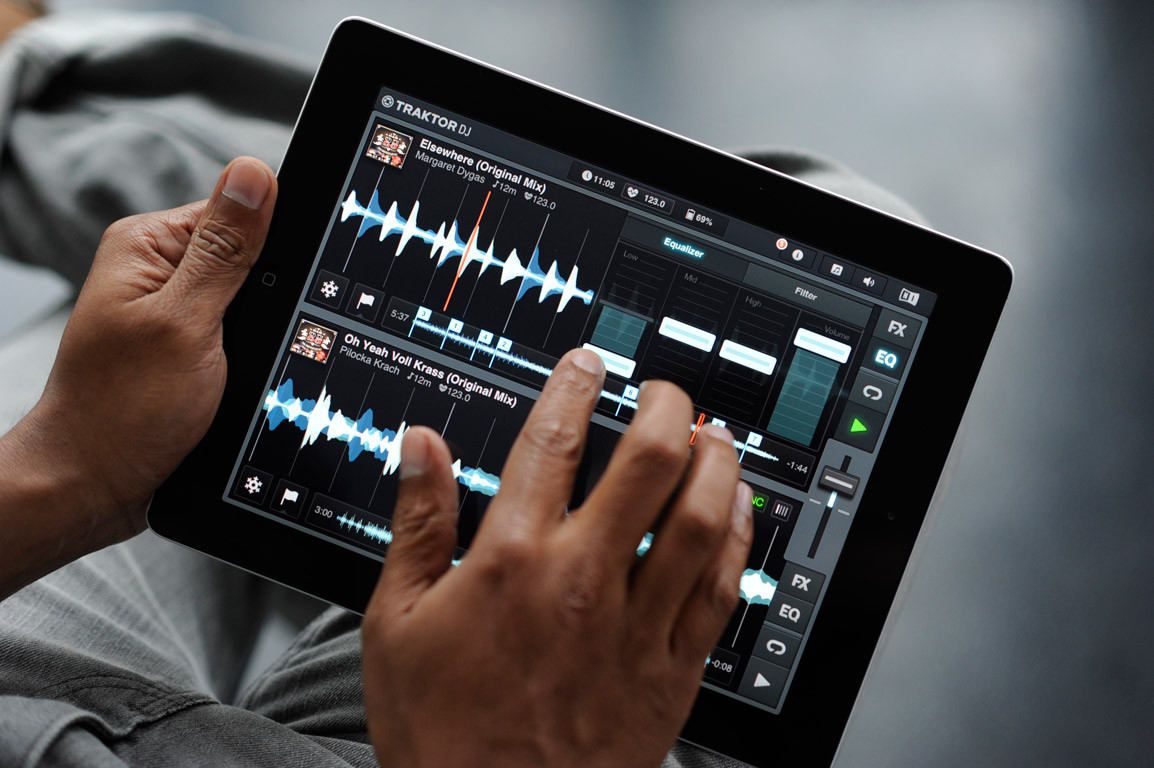
Traktor DJ is the iOS cousin of Traktor. Available on the iPad and iPhone, Traktor DJ isn’t a direct port of its laptop counterparts as it has its own distinct feature set, but you can still use a Traktor Kontrol S4/S2 mk2 with it, as well as the Traktor Kontrol Z1 controller. For more information on Traktor DJ, check out our full review.
Installation
Traktor Pro 2 Demo
For the purposes of this article, we’ll assume that you’re using Traktor Pro 2. If you don’t have it, you can grab a time-restricted demo. Here’s how:
- Open your browser and head to the Native Instruments website
- Click on the “Demo” button on the upper right of the screen.
- Enter you e-mail address and click “Get Download Link”
- Check your e-mail inbox for a message from Native Instruments and open it. If it’s not there, look at your Bulk or Spam mail folder
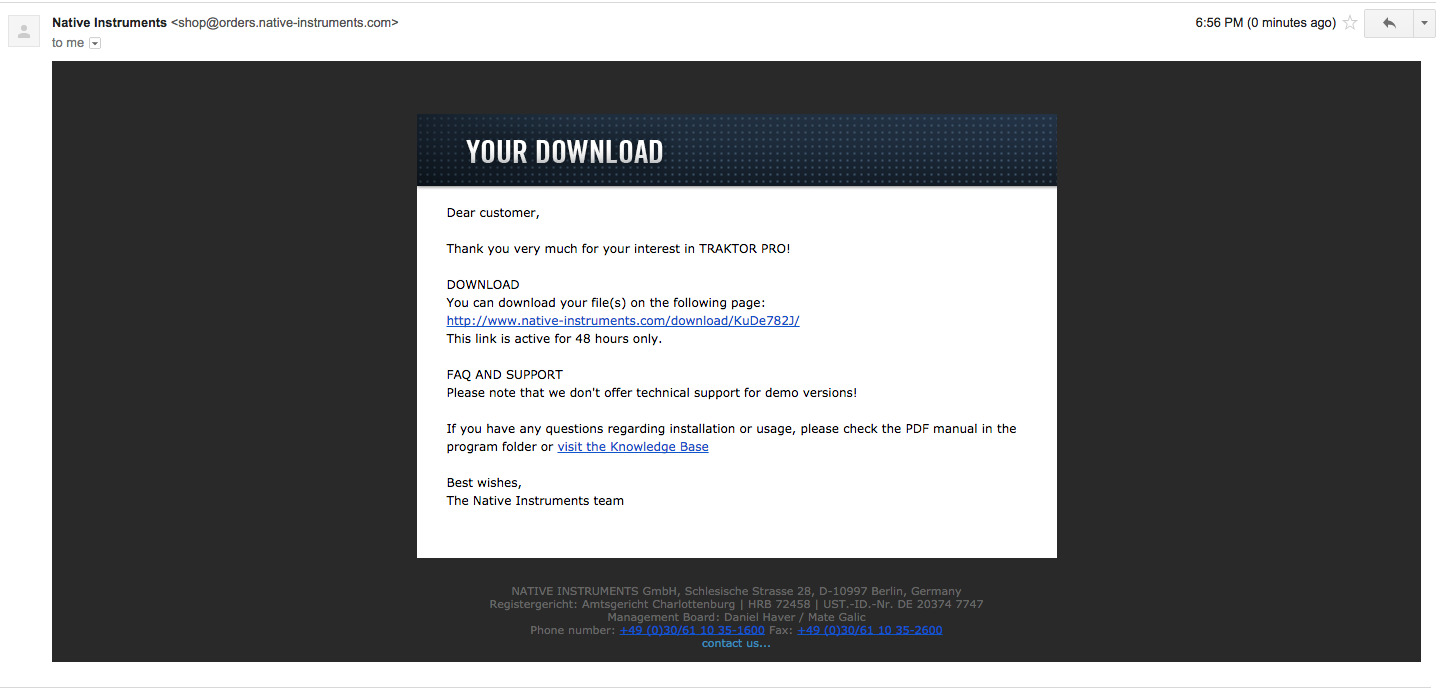
- Click the link in the e-mail to go to the download page
- Download the installer
- Go to your Downloads folder and double click on “Traktor_2_XXX_Mac.dmg” (Traktor_2_XXX_PC.zip if you’re on a PC). Follow the onscreen instructions to install it on your machine
- When the installation finishes, it’ll ask you to Restart your computer. Go ahead and press the “Restart” button
Traktor Pro 2 Full
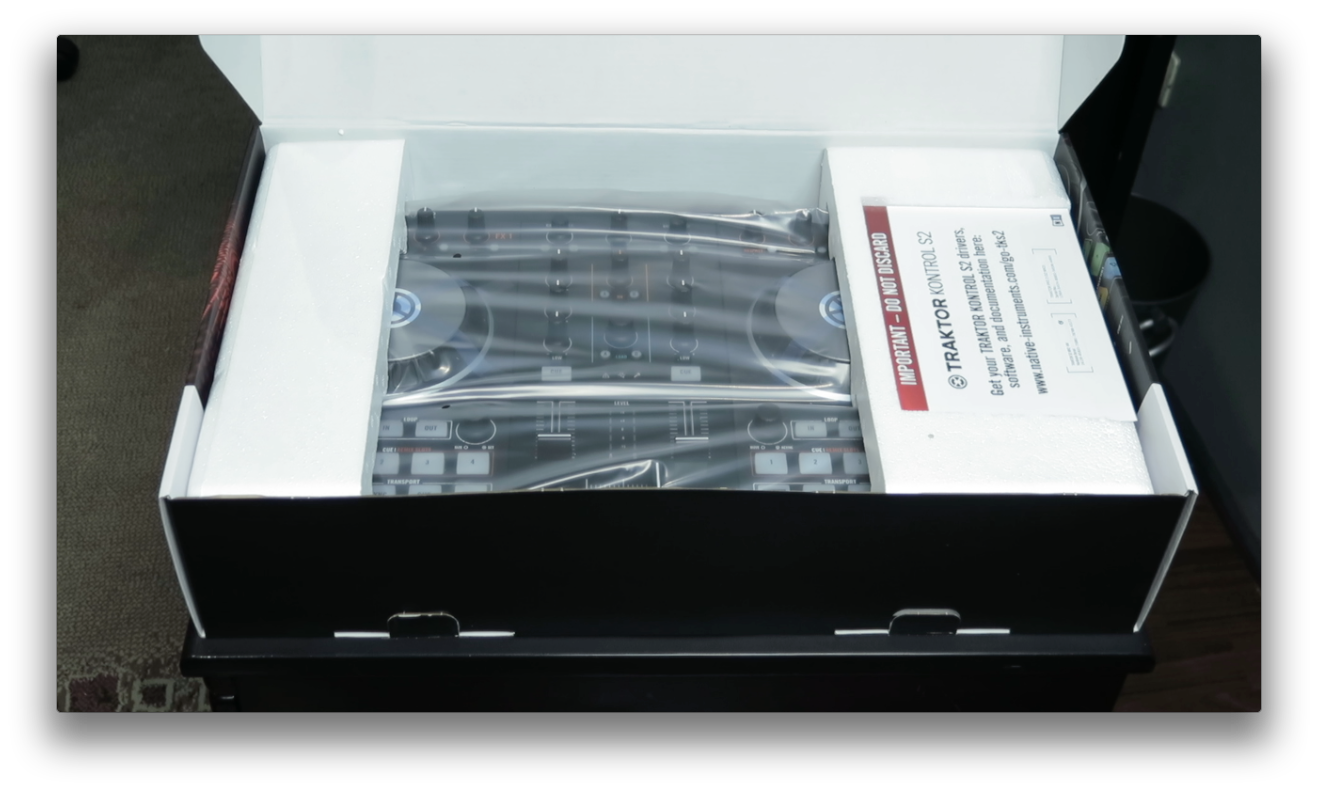
If you just bought a new Traktor Kontrol S4/S2, you should be able to find a voucher inside your product box with the serial number for Traktor Pro 2. Here’s how to download and install it on your computer:
- Once you’ve opened your box, locate the piece of paper that contains your software serial number and download link. Do not throw this away!
- Open your browser, type in the link provided, then create your own account on the Native Instruments website. This will serve as a repository for all your NI-related serial numbers, downloads, and vouchers if any
- Once you’ve logged in, download your copy of Traktor Pro 2
- Go to your Downloads folder and double click on “Traktor_2_XXX_Mac.dmg” (Traktor_2_XXX_PC.zip if you’re on a PC). Follow the onscreen instructions to install it on your machine
- When the installation finishes, it’ll ask you to Restart your computer. Go ahead and press the “Restart” button
Traktor LE 2
If you bought a DJ controller that came bundled with Traktor LE 2, go ahead and install it according to your controller manufacturer’s instructions located in the manual.
Running Traktor Pro 2 for the first time
Connecting your DJ controller
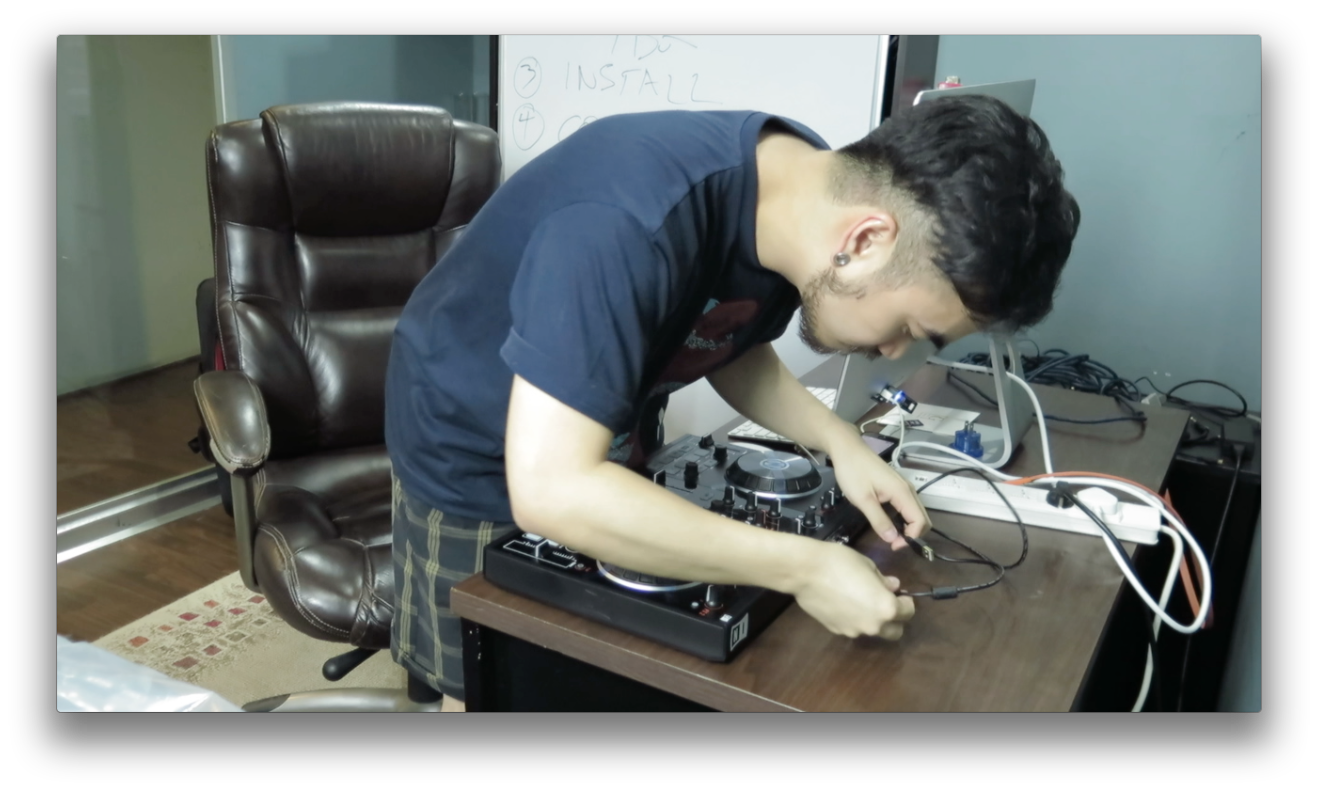
After you’re done installing Traktor Pro 2, it’s time to run it for the very first time. But before you do that, connect your DJ controller first if you’re using one. Remember that Traktor Pro 2 doesn’t need a controller connected in order to function properly.
- Connect your DJ controller using the supplied USB cable. Plug one end to your laptop’s USB port and the other in your controller’s
- If your controller comes with a power adapter and requires it for use, connect that as well to ensure proper functionality. When in doubt, consult your DJ controller’s manual
- If it hasn’t power up already, turn your controller on by pressing/flicking its switch. Again, consult your controller’s manual if you’re unsure how to do this
- If your controller has an onboard audio interface, connect your speaker leads to your controller’s output jacks
Activating Traktor Pro 2
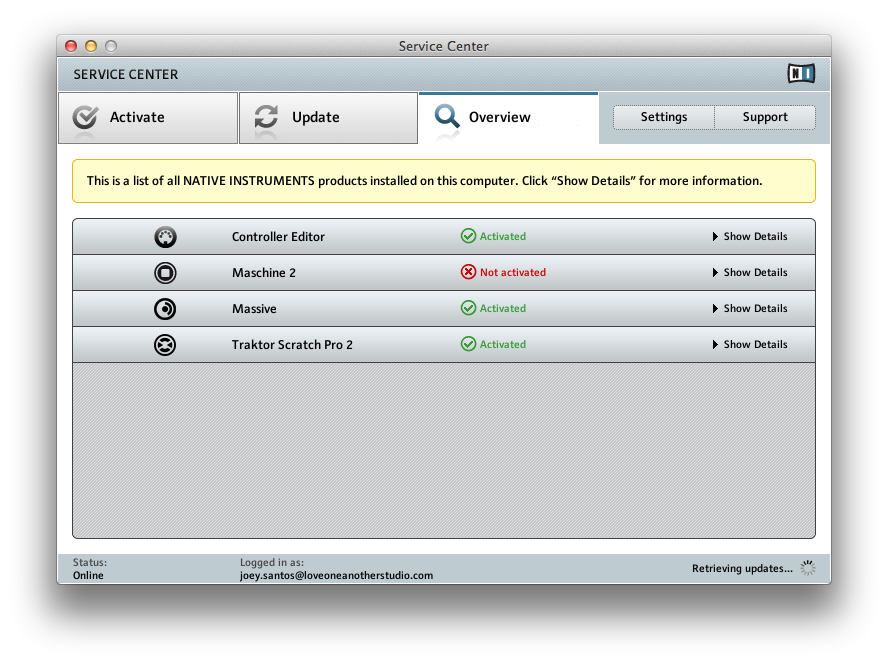
If your copy of Traktor Pro 2 came bundled with your Traktor Kontrol S4/S2, you’ll have to activate it in order to use it beyond its time restriction. To do this, launch Traktor Pro 2:
- Go to your Applications folder (or on your Desktop if you’re on a PC) and look for the Traktor icon. Double click it, and the program starts
- At the top of your screen, click “Help”, then click “Launch Service Center”
- A new window called Service Center will launch. Enter your Native Instruments login details here like you did over at their website.
- Once you’ve logged into Service Center, you’ll see that Traktor Pro 2 is unactivated. Type in the serial number found on the Traktor Pro 2 pamphlet that came with your controller in the empty fields
- Alternately, you can login to your account over at the Native Instruments website. Click on “My Account” on the upper right, then click “My products & serials”
- Scroll down until you see Traktor Pro 2, then copy paste the serial number to the empty fields in the Service Center app
Using the Set-up Wizard
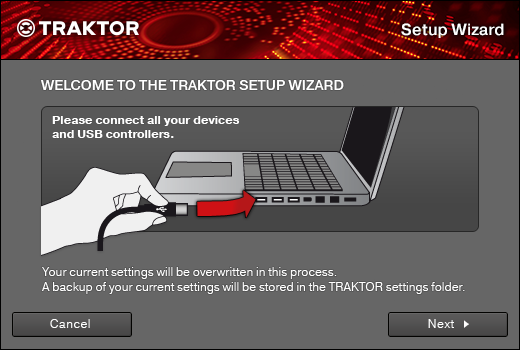
Easily connect and configure your controller by using Traktor Pro 2’s built-in Set-up Wizard.
- At the top of Traktor’s main screen, click “Help”, then click “Start Setup Wizard”
- You’ll see this screen, and since we’ve already connected your controller, go ahead and click Next
- Follow the onscreen instructions and answer the questions for each step. This will help you get your DJ controller setup properly, particularly if you’re using a third-party controller or other Midi device
- Close the Setup Wizard by clicking “Finish” at the very end
In use
With Traktor Pro 2 installed and activated, plus your controller hooked up to your computer, it’s time to get cracking! You can probably already see a few demo tracks in Traktor’s browser window, so go ahead and drop them onto either of the virtual decks, hit “Play” on your controller, and get spinning!
But what about your songs, how come you don’t see them in your browser window? That’s because we still have to get your music library onto it. Here’s how.
Getting your music onto Traktor Pro 2
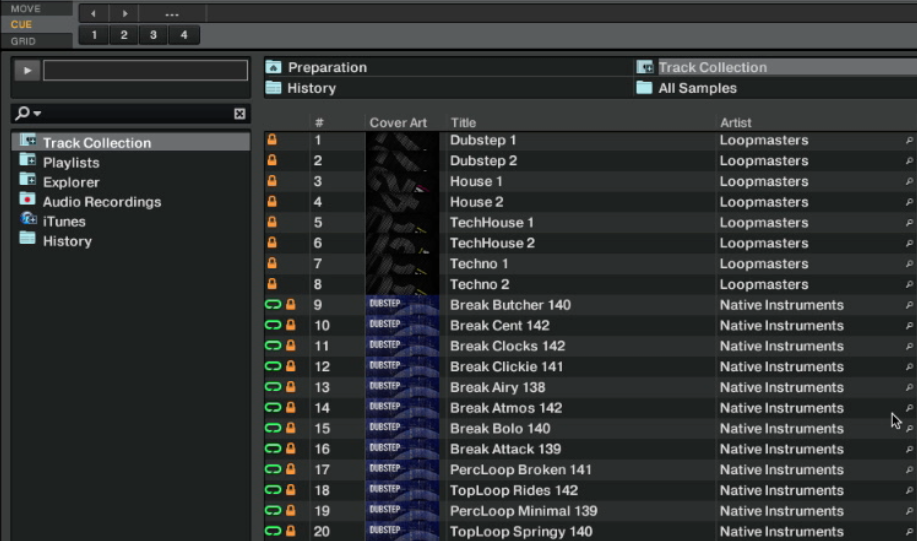
Let’s get your music onto Traktor’s library. Just like in the previous two articles, there are three ways to do this: You can drag and drop from within Traktor’s browser, from the iTunes section within Traktor, or by dragging a song from the Finder window (Mac) or Windows Explorer (PC).
- Browser – On the lower left side of the screen you’ll see a window with a list of folders (eg Track Collection, Playlists, Explorer etc.). This is the browser list, and clicking on any of these folders populates the window in the middle of Traktor’s screen with songs that are contained within that folder. This lists all the audio files that Traktor sees on your hard drive. Try clicking Explorer -> Music Folders to see songs you have in your hard drive’s “Music” folder
- iTunes – Near the bottom of the browser you’ll find a folder called iTunes. This is where all the playlists and music you have stored in iTunes resides, which is good news if that’s what you use to organise your music because you can just choose songs from this list as if you were picking within iTunes
- Drag & drop – You can also just drag a song from your hard drive (Finder for the Mac, Windows Explorer for the PC) onto any of the virtual decks located at the top of the Serato DJ screen
Now that your songs are in Traktor, you should consider analysing them ahead of time. Analysing your tracks enables Traktor to calculate BPM, auto-create beatgrids, and set other attributes and metadata to your music for you. Analysing tracks prior to a DJ set is an essential part of preparation, and one that also saves CPU power as opposed to analysing your songs “on the fly” as you’re DJing, particularly with less powerful laptops.
To analyse your songs, highlight the tracks that you’d want analysed, then right-click and choose “Analyze (Async)”. A new window pops up, just click OK for now. You’ll return to the main Traktor screen and see a progress bar at the bottom of the main interface, letting you know how much longer analysis will take.
Your first mix
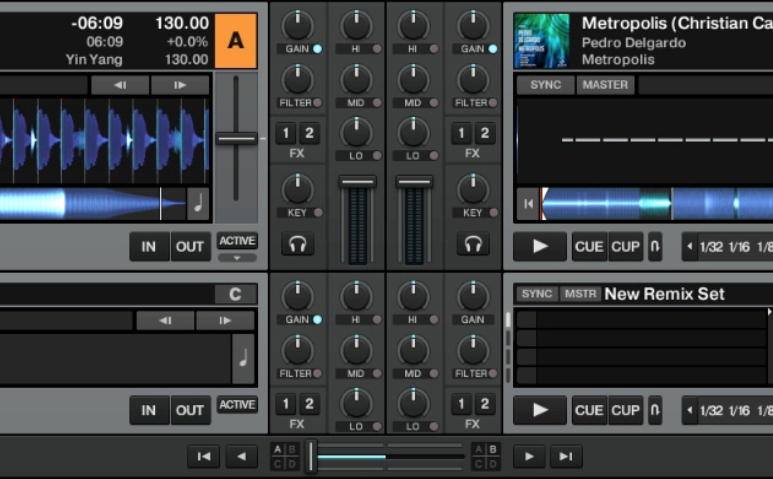
Let’s play some tunes! Drag a song from the browser window onto the left virtual deck of Traktor. You’ll see the song’s name appear on the deck, and you’ll see a waveform appear in the middle of the screen. Move your controller’s crossfader to the left, make sure the volume fader is all the way up, and hit the play button on your controller. You should be hearing the song playing back through your speakers.
Do the same thing for the right deck: Drag a song from your browser onto it to load. With the left deck playing, move the crossfader all the way to the right; notice how the volume of the song that’s currently playing begins to dip until it’s silent. With your right volume fader all the way up, hit the play button on the right deck of your controller. You’re now playing the song that you’ve loaded onto the right virtual deck after you faded out from the song on the left: In other words, you’ve just executed your first mix!
Beyond beginners
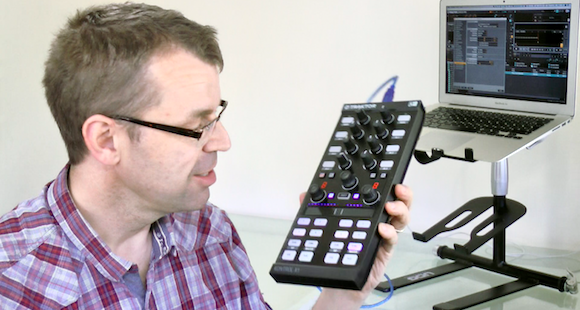
Now that we’ve gone through basic set-up procedures and getting your music into Traktor’s library, here are a couple of more advanced tutorials from our archives to keep you going:
- How To Use Traktor Kontrol X1 Mk2′s Touchstrip – Thinking of adding the Traktor Kontrol X1 Mk2 to your set-up? Here’s Phil’s tutorial on how to use them effectively during your DJ set
- Bluffer’s Guide to Traktor’s Remix Decks – If you want to try a different style of DJing that’s a little closer to live production, here’s my series of tutorials on using Traktor’s Remix Decks
Conclusion
At this point, you’ve installed Traktor Pro 2 on your computer, you’ve activated it (or at least have tried it for the maximum of its time restriction, if you’re on a demo), and you’ve connected your DJ controller. You also have your music library within Traktor Pro 2, and have executed your first mix. Congratulations on getting this far!
This week’s video
• That brings our “Your First Day With…” mini-series to an end. I hope it helped walk you through your first encounter with your DJ software of choice, and I also hope that it encouraged you to try out other DJ software in the market as well! One of the best ways to heighten your DJ skills and overall appreciation for DJing is to get out of your comfort zone (whether it’s software you’ve been using for a long time, or a controller that you’ve mastered) and enter uncharted territory. Like they say, you truly find yourself when you “get lost” in an effort to learn more!
Check out the other parts in this series:
Did you encounter any problems getting Traktor Pro 2 up and running? We’d like to know if we missed anything, so go ahead and let us know in the comments below.

