Video content isn’t the future, it’s the present: More online video has been streamed than ever before. YouTube, the world’s biggest video streaming site, also happens to be the world’s second largest search engine after Google. Social media is also more ubiquitous than ever: almost three billion people use social media regularly. If you’re a DJ, social media is an important marketing tool to get gigs and to boost your personal brand.
But what if you’re not the vlogging type? What if you feel like you don’t have much to say? Or what if you’re just starting out and you don’t have gigs to shoot video clips of yet? The next best thing is to film yourself DJing. It doesn’t have to be entire sets – you can even just film short clips of yourself for Instagram Stories – but if you’d like to do longer form content, filming your DJ mixes is one way to do just that.
Here’s how to easily film your DJ sets.
1. Set your phone up with a mount

You don’t have to pick up a DSLR or a GoPro just to film your DJ mixes – in fact, you’ve got a pretty capable one in your pocket. Use your smartphone to film your mix by placing it in front of your DJ set-up or on the side using a phone tripod. You can also get a phone clip that mounts to a tripod for more placement options, and we recommend either the Movo Smartphone Grip or the Manfrotto Mount.
All iOS and Android phones come with camera apps built in, and depending on what phone model you’re using, you’re generally given just a handful of options to tweak. If you want more options, try downloading a dedicated film app: one that I use is called Filmic Pro (iOS and Android), and it’s great because it gives you control over more settings, just like you were shooting with a manual video camera.
Once you’ve got those sorted, the next thing you’ll want to figure out is how your shot looks like. Does your gear fit in the frame? What about you, are you able to fit in it? If not, move the camera back. You may also want to film from the side of your controller, with your phone’s camera looking at your set-up from an angle. Depending on your phone, you may want to use the front-facing camera instead of the rear just to make things easier.
Once you fit everything in, you might notice that either the shot looks too dark, or looks too “grainy”. The reason is because of the lack of light in your frame, so the next thing to do is to add some lighting.
2. Use natural light or a desk lamp

You don’t have to go out and buy pro lighting – try moving your set-up near a window or to a brighter spot in your home. If you’ve already done this and it still looks dark (or you’re filming at night), try positioning a light source such as a desk lamp beside you, but just out of shot. This adds some light into the frame that will make your video look better. You don’t need a lot either – the cool thing about DJ gear is that they’ve got lights onboard, so you don’t need a ton of light to make your kit look good, but you do need enough so you can be seen in the shot too.
If the light is too harsh, you can try diffusing it by adding a piece of wax paper in front of the light to give you a softer look. Old record sleeves are great for this, and if you’ve got vinyl lying around chances are you’ve already got more than you need – just clip it to your light and make sure it doesn’t touch the bulb.
3. Use your DJ software to record, or record from your mixer’s output

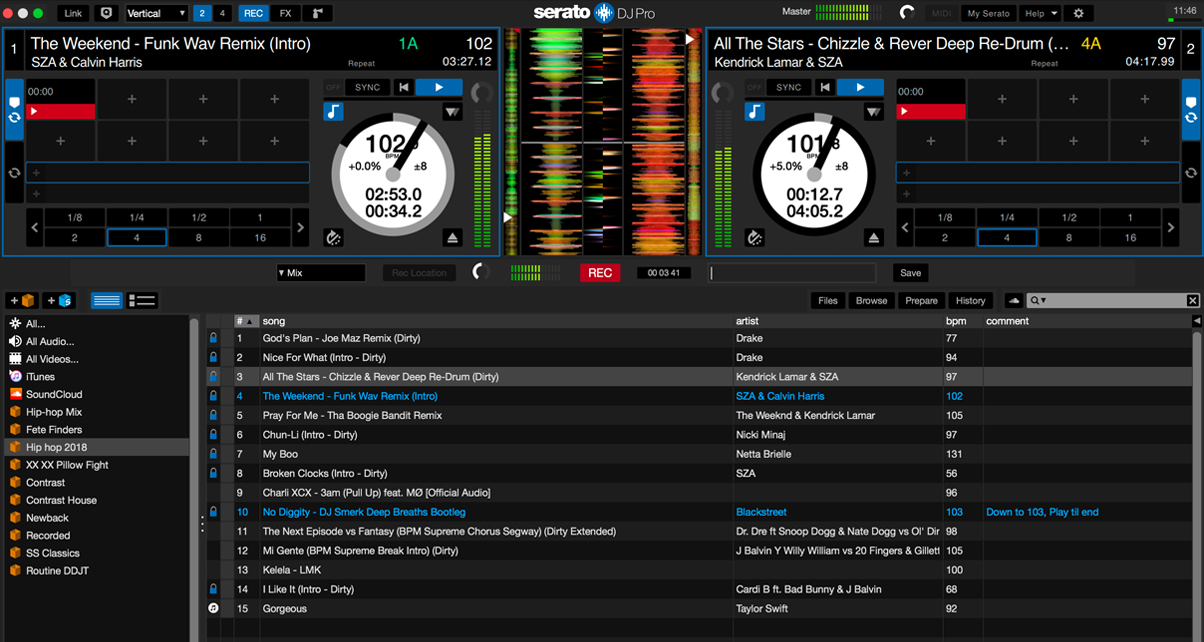
Now that you’ve got your video bits sorted, let’s deal with the audio. The best way to record your mix is through your DJ software’s record feature. This gives you the cleanest, most direct recording possible with a minimum of fuss and cabling. All you need to do is hit record on your DJ software, hit record on your camera, and you’re all set.
But what if you’re using USB sticks and media players, or you’re using turntables and actual vinyl? You can plug the “Rec” output of your DJ mixer to a dedicated recorder like the Mixbox II or the Reloop Tape 2, or you can even plug it into your phone. Just get an RCA to TRS cable and a TRRS to TRS cable, and plug that into your phone’s headphone socket. When you hit Record on your phone’s video app, it’ll also record the audio coming from your mixer. Now go and make that mix!
4. Edit your footage on iMovie or Windows Movie Maker

If you recorded the audio using your DJ software’s record feature, you’ll need to edit the audio and video together using a video editing app on your laptop: iMovie for Macs and Windows Movie Maker for PCs. It’s just a matter of importing the video file and audio file into your video editing app and lining them up – that means making sure that both files are synced and play back in time. Try lining up the first beat of your audio and with the first beat of the audio in your video to do this.
If you filmed using just your phone and you ran your DJ mixer’s output to it, you don’t need to do any more lining up. Simply edit out the extra bits of footage at the start and end of your mix, and you’re all set to export the video.
5. Upload your video

This is the most important bit: There’s no point filming a video if no one can watch it, so upload your mix to YouTube, Facebook and even Instagram. There’s a high chance that you’ll get a copyright notification when you upload your track to either of these services, but that’s fine – most of the time, it just means that you won’t earn any money when someone watches your mix.
However, if you play a lot of commercial / top 40 music, you may find that your mix gets blocked (try uploading a mix with a Kanye or Drake track, for instance). That means no one will be able to watch your video because it’s been blocked on YouTube. When this happens, you can opt to mute that song in your mix via YouTube’s dashboard.
Instagram is another option for you to send your mix too, but you’ll have to trim it down to 60 seconds maximum. You can pick out the juiciest part of your mix (maybe your biggest tune or your sickest transition) and just edit out the rest in your video software. You can then upload that to your Instagram profile. Another option is to upload it to Instagram Stories, which takes the form of 15-second video clips.
Finally…
It used to be tough and expensive to shoot video, but smartphones have made it simple. Despite this, a lot of DJs still shy away from filming their sets and putting them online for the world to see. This is something you must take advantage of in today’s social media-driven landscape because it helps you get your name out, and it’ll only get more crowded and harder to stand out moving forward.
Start today – it doesn’t have to look like a slick Hollywood production, what’s important is that you get something out there. You will get better over time, so just keep at it.
Do you film your DJ mixes or DJ sets? What techniques do you use? How do you shoot them? Let us know in the comments.


