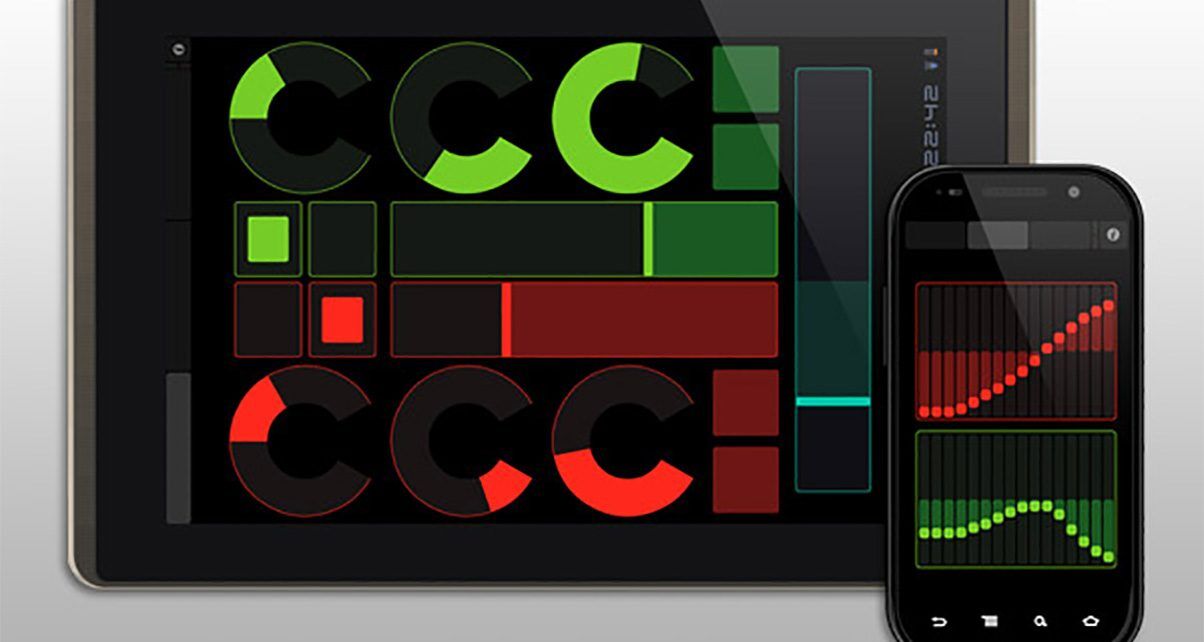
One of the coolest aspects of being a digital DJ is all the new “toys” we get to play with. Our laptops, our timecode set-ups, our Midi controls, and now even the very smartphones and tablets we use on a daily basis.
Ever since the Lemur Jazzmutant hit the scene, DJs have wished for a more affordable way to have a touchscreen controller in the booth. The gang at Hexler answered the call with TouchOSC, and today I’m going to show you in four easy steps how to hook it up to your existing digital DJ set-up.
Note: I’ve made a video to support this article, and you can find it at the end of the piece.
1. Gather what you need
To use TouchOSC, you’ll need an iOS or Android device and a copy of the app from either platform’s respective app store. Here’s what else you’ll need and why:
- Pure Data – A freeware software program designed to help you wirelessly connect your touch device to your computer
- basic.pd – This is a file that you will run on Pure Data. It’s been created by Hexler to use with TouchOSC
- Midi Connection Software – We have Pure Data and basic.pd to bring the signals of TouchOSC into the computer, but you still need a program to help translate them into a Midi signal that can be used. You have four choices. You can try using an Open Sound Control (OSC) connection, TouchOSC Bridge, the Line 6 Midi Mobilizer, or the CoreMidi framework. For our purposes, we’re going to use TouchOSC Bridge since it’s very easy to set up
2. Determine the IP addresses
Of your tablet…
The original releases of TouchOSC required you hooking up your device to the computer via a cable. While feasible, it’s also a bit cumbersome. Thankfully with more recent releases, things have been set up to run wirelessly. However, with the myriad of wireless devices out there (especially in a club setting), one will need specifics on which device connects to what… namely IP addresses.
When you open TouchOSC on your mobile device, go to the settings section and select “OSC” on the connections. If you see it disabled, enable it. You’ll then see a blank titled “Local IP address”. Jot down this address on a piece of paper. It’s the IP address of your device.
…and of your PC or Mac
On your PC or Mac, you now also need to determine its IP address. If you don’t know how, here are instructions on how to find it in Windows and Mac OS. In the OSC connection section on your mobile app, enter the IP address of your computer into the “Host” blank. I would leave the ports alone unless you happen to do some tricky stuff with your wireless, in which case you should already know what you’re doing at this part.
Enable the “Midi Bridge” connection in the settings as well. If you have TouchOSC Bridge running on your computer, you might see your computer appear in a list here. If not, then enter the IP address of your computer in the “Host” blank. Go back to the main settings window and press “Done” if you’re ready, or select one of the pre-installed control set-ups and then press “Done” to confirm it all.
3. Edit basic.pd to connect
Now we’re set on the mobile end, let’s get things connected on your computer. If you haven’t installed Pure Data, do so. Open it up and then open the basic.pd file within Pure Data. The Pure Data program itself looks complex, but basic.pd doesn’t. Go to “Edit” and select “Edit Mode”. Click on the rectangle that says “Connect 10.10.10.10.9000”. Delete the IP Address and enter in the IP Address of your touch device.
From here, go back to “Edit” and uncheck “Edit Mode”. Then on the basic.pd view, click on that rectangle with “Connect” and your mobile device’s IP address in it. You should see it click like a button this time. Now move a fader or press a button on your mobile device. You should see the Pure Data window (not the basic.pd area) suddenly scroll with loads of lines of numbers being written. If you see this, then you’re connected!
4. Make the Midi connection
If you have not run any of the four choices for Midi Connection, do so now. Be sure to have this running before you open your choice DJ/audio software. I say this because when I ran Traktor first, it didn’t recognise the control when I ran TouchOSC Bridge after. Think of it as hooking up your USB Midi controller before running your program.
At this point, you’re ready to map the controls on your touch device to your program.
Video
Next time…
Now you know how to set up and use the pre-made control layouts of TouchOSC, what about making your own? Take a look at Design Your Own Tablet DJ Controller In TouchOSC, whenre we fulfil your Jazzmutant fantasies and help you to make your own custom control layout…
Have you always been intrigued by TouchOSC but been put of experimenting with it? Has today’s article encouraged you to have a go? Do you already use it and if so, how? We’d love to hear your thoughts in the comments.


